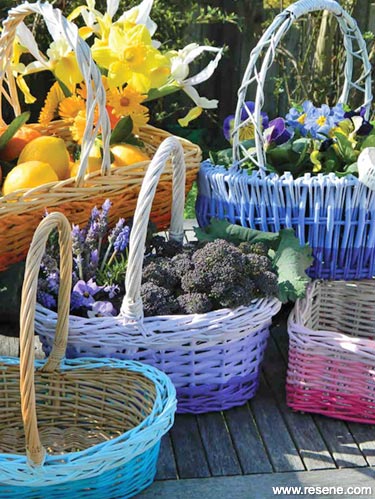
Treat some old wicker baskets to some ombre-inspired shading in your favourite hues for an extra-colourful harvest.
Your garden will be starting to flourish as the spring weather warms up so get ready to gather your bounty in personalised baskets sure to bring a smile to your face. Secondhand shops are always a great place to find craft materials like these cheap wicker baskets, which I picked up for between $3 and $6 each. The Resene testpots come in a fantastic range of colours and shades. I did not need a lot of paint from each test pot so the remainder can be used for other projects or even more baskets!
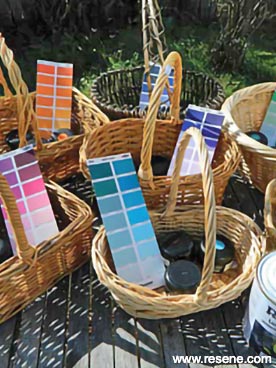
Choosing the paint colours at the Resene Colorshop was a lovely way to spend a wet morning. I tried to use some of the colours in my garden and some of my paints were from the Resene KidzColour range.
You will need: Old wicker baskets, paint – Resene Lumbersider in White for base coat and Resene Lumbersider testpots in your choice of three gradual shades per basket, paintbrushes, old toothbrush, newspaper, masking tape, Varnish (optional).
Paint tips:
![]()
 Step 1
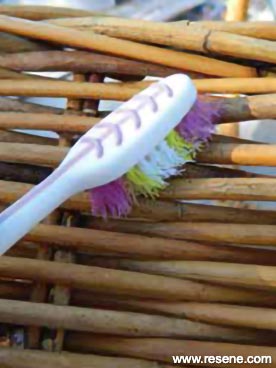 Step 2a
 Step 2b
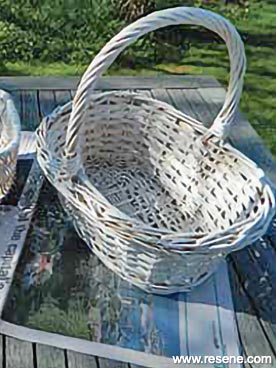 Step 2c
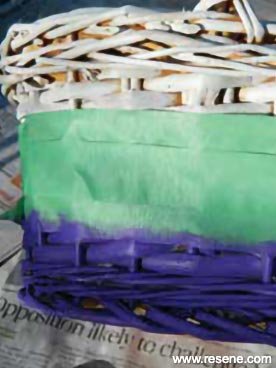 Step 3a
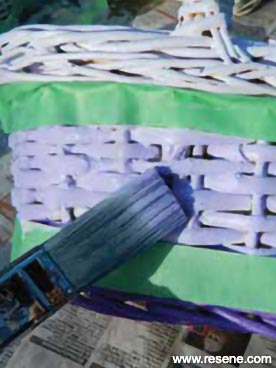 Step 3b
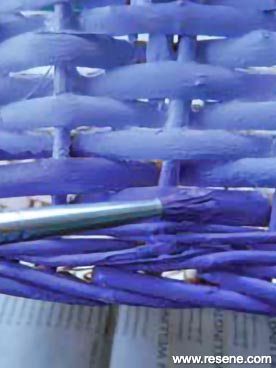 Step 3c
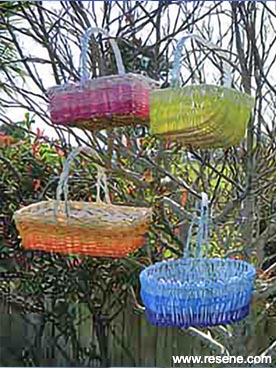 Step 4

I hope you enjoy this project, it would be lovely to hear how you get on.
Words & photos Diane Turner
![]() Get inspired ! Subscribe
Get inspired ! Subscribe ![]() Get saving ! Apply for a DIY card
Get saving ! Apply for a DIY card
![]()
Can't find what you're looking for? Ask us!
Company profile | Terms | Privacy policy | Quality and environmental policy | Health and safety policy
Colours shown on this website are a representation only. Please refer to the actual paint or product sample. Resene colour charts, testpots and samples are available for ordering online. See measurements/conversions for more details on how electronic colour values are achieved.
What's new | Specifiers | Painters | DIYers | Artists | Kids | Sitemap | Home | TOP ⇧