It’s surprisingly easy to create a handy cold frame from a large recycled window and some fence palings – perfect for protecting seedlings or cuttings during cold weather.
You will need: Wooden-framed window (ours measured approx. 710mm x 1500mm) with old hinges and fittings removed, 1.8m fence palings cut to the following sizes (depending on the size of the window):
Top tip: Placing a layer of thick cardboard or newspaper in the base of the cold frame will help to prevent any weeds from growing through. Position your cold frame in a sunny but sheltered spot and check regularly to see if watering is needed. Prop the lid open from time to time to increase ventilation, but always ensure the lid is closed at night in the cooler months.
To get the look: Mark painted the background fence and shed wall with Resene Lumbersider tinted to Resene Soft Apple.
Here's another idea: To create a larger-scale cold frame, construct the base from landscaping timber or macrocarpa sleepers and use an old exterior glass door as a lid.
![]()
 Step two
 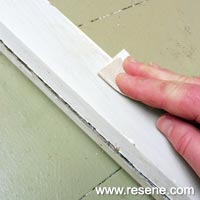 Step three
 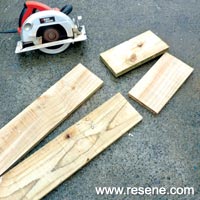 Step four
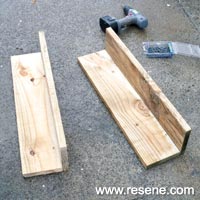 Step five
 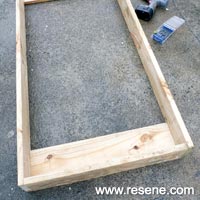 Step six
  Step seven
 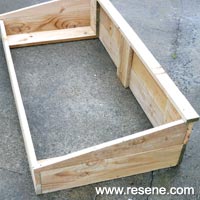 Step eight
 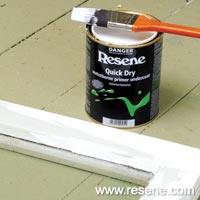 Step nine
 Step eleven
 Step twelve
 Step thirteen
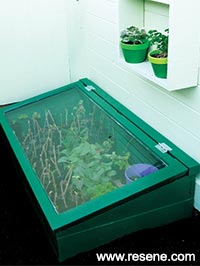
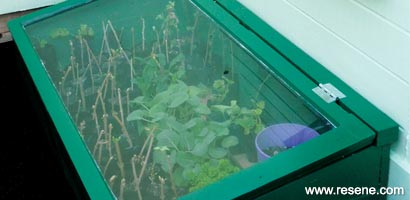 Completed project
![]() Get inspired ! Subscribe
Get inspired ! Subscribe ![]() Get saving ! Apply for a DIY card
Get saving ! Apply for a DIY card
![]()
Can't find what you're looking for? Ask us!
Company profile | Terms | Privacy policy | Quality and environmental policy | Health and safety policy
Colours shown on this website are a representation only. Please refer to the actual paint or product sample. Resene colour charts, testpots and samples are available for ordering online. See measurements/conversions for more details on how electronic colour values are achieved.
What's new | Specifiers | Painters | DIYers | Artists | Kids | Sitemap | Home | TOP ⇧
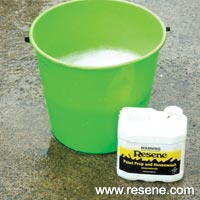 Step one
 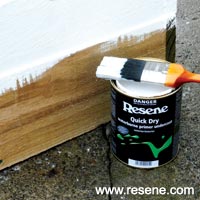 Step ten
