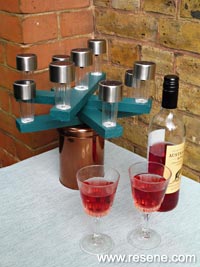
A solar table light will add atmosphere to balmy evening entertaining.
You will need: 9 x small solar garden lights, Approx 1.2m of 40mm x 20mm dressed timber, Copper canister, Small amount of ready-mix concrete, Exterior construction glue, Exterior PVA glue, Drill with 3mm drill bit, Clamp, 75mm screw, Pencil, Sandpaper, Saw, Screwdriver, Small hacksaw, Tape measure or ruler, Paintbrush, Resene Quick Dry, Resene testpot of Resene Tiber.
Here's another idea: Instead of a metal canister, use an upturned 'Long Tom' terracotta pot sealed with Resene Terracotta sealer.
![]()
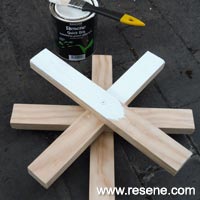
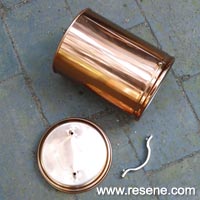 Step one
 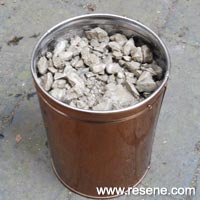 Step two
 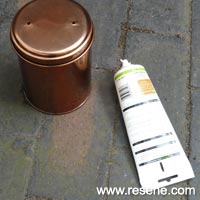 Step three
 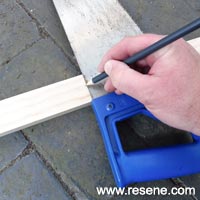 Step four
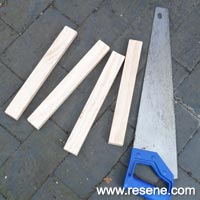 Step five
 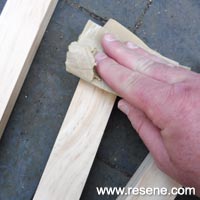 Step six
 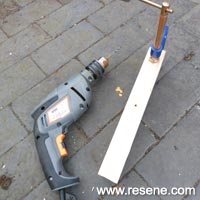 Step seven
 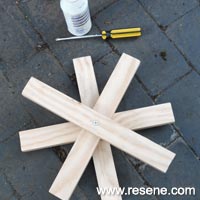 Step eight
 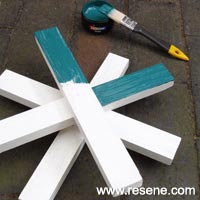 Step ten
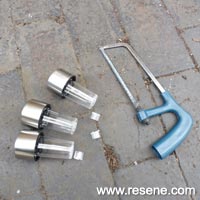 Step eleven
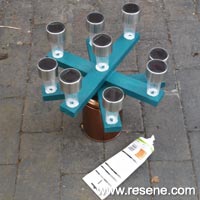 Step twelve
![]() Get inspired ! Subscribe
Get inspired ! Subscribe ![]() Get saving ! Apply for a DIY card
Get saving ! Apply for a DIY card
![]()
Can't find what you're looking for? Ask us!
Company profile | Terms | Privacy policy | Quality and environmental policy | Health and safety policy
Colours shown on this website are a representation only. Please refer to the actual paint or product sample. Resene colour charts, testpots and samples are available for ordering online. See measurements/conversions for more details on how electronic colour values are achieved.
What's new | Specifiers | Painters | DIYers | Artists | Kids | Sitemap | Home | TOP ⇧
 Step nine
