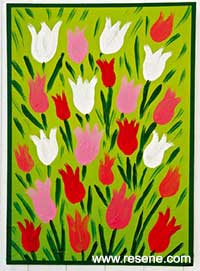
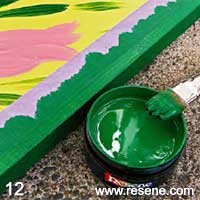
Mark Rayner shows you how to enjoy spring bulbs all year round with this simple-to-paint garden art panel featuring a mass of bright tulips.
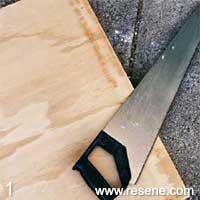
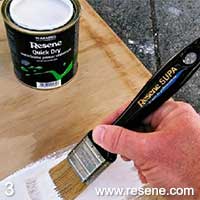
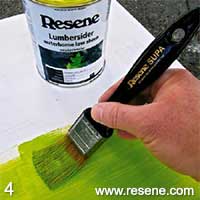
You will need: 22mm treated plywood measuring 430mm x 600mm, clean cloth, low-tack masking tape, saw, sandpaper, paintbrushes (including an artist’s brush), pencil, tape measure, ruler. Resene Quick Dry, Resene Lumbersider, tinted to Resene Impromptu. Resene testpots of Resene Bullseye, Resene Glamour Puss, Resene Kaitoke Green, Resene Kereru, Resene Material Girl, Resene Rapture and Resene Sentimental.
To get the look: Mark painted the background shed door with Resene Lumbersider tinted to Resene Alabaster.
Tips for displaying your artwork: To hang the panel, it can be nailed or screwed directly to a wooden fence using galvanised nails or stainless steel screws with the heads filled and spot-painted with the appropriate colour can be used. Alternatively, fix two stainless steel screw eyes to the back of the panel with a length of thin galvanised wire between – the panel can then be hung like a picture from a hook or nail.
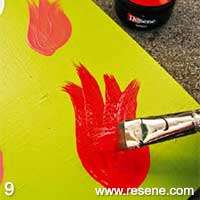
Step 9
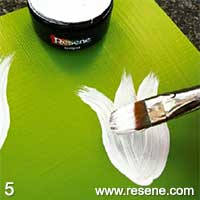
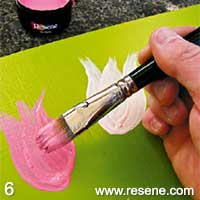
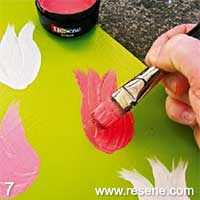
Finally, paint the last few remaining tulip blooms with Resene Bullseye. Allow two hours for all the painted tulips to dry.
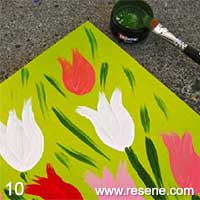
Step 10
Paint in stems and leaves using Resene Kereru – again, try to keep the paint strokes light and with“energy”by painting quickly, and don’t worry if they don’t match up perfectly with the flower heads. Paint a few more tulip blooms using Resene Rapture.
Order online now:
Testpots |
Paints |
Primers and Sealers |
Stains |
Clears |
Accessories
![]() Get inspired ! Subscribe
Get inspired ! Subscribe ![]() Get saving ! Apply for a DIY card
Get saving ! Apply for a DIY card
Can't find what you're looking for? Ask us!
Company profile | Terms | Privacy policy | Quality and environmental policy | Health and safety policy
Colours shown on this website are a representation only. Please refer to the actual paint or product sample. Resene colour charts, testpots and samples are available for ordering online. See measurements/conversions for more details on how electronic colour values are achieved.
What's new | Specifiers | Painters | DIYers | Artists | Kids | Sitemap | Home | TOP ⇧

