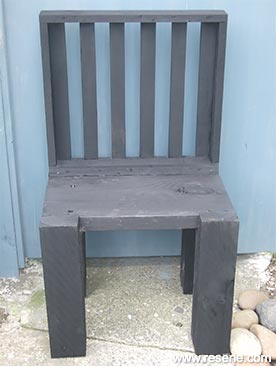
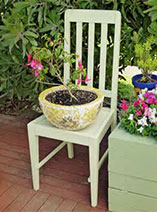
Create this stylish arts and crafts style seat using treated timber and Resene Timber and Furniture Gel.
Ways with wood with Mark Rayner - Project 25
Difficulty level: Challenging
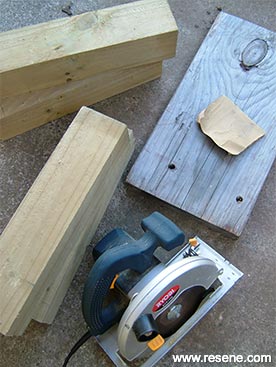
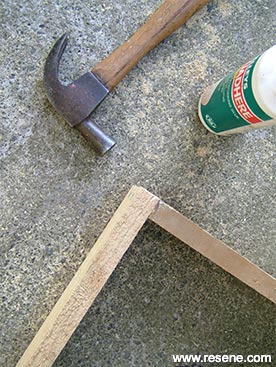
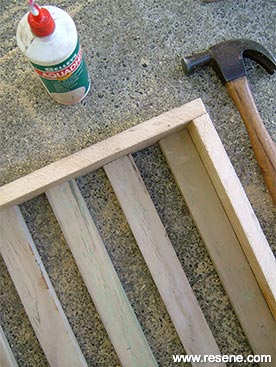
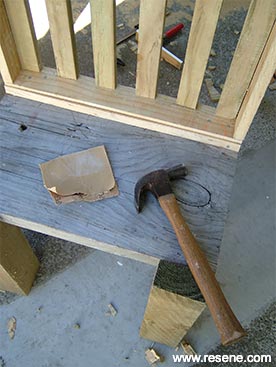
You will need: 300mm x 50mm treated timber cut to 540mm for the seat,
four 100mm x 100mm treated timber cut to 450mm for the legs,
two 70mm x 25mm treated timber cut to 540mm,
two 70mm x 25mm treated timber cut to 450mm,
six 50mm x 25mm treated timber cut to 450mm
25mm x 5mm treated timber cut to 540mm (we used an off-cut of fence paling),
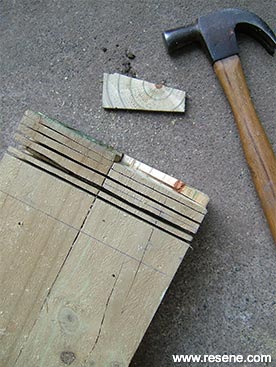
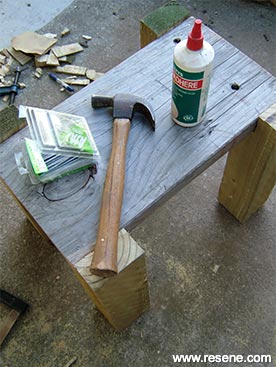
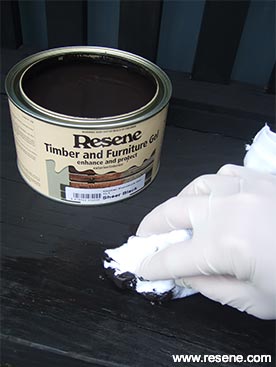
40mm galvanised nails, 100mm galvanised nails, circular saw, chisel, clean lint-free cloth, hammer, latex gloves, pencil, exterior PVA glue, sandpaper, saw and tape measure. Resene Timber & Furniture Gel in Resene Sheer Black.
To get the look: Mark stained the background fence with Resene Waterborne Woodsman Penetrating Oil Stain tinted to Resene Pickled Bluewood.
Other ideas: For a paler effect, try Resene Timber & Furniture Gel in Resene Silvered Grey.

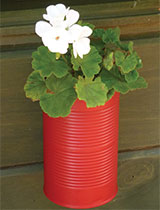
 Plant stand
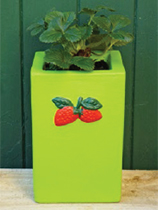
![]() Get inspired ! Subscribe
Get inspired ! Subscribe ![]() Get saving ! Apply for a DIY card
Get saving ! Apply for a DIY card
![]()
Can't find what you're looking for? Ask us!
Company profile | Terms | Privacy policy | Quality and environmental policy | Health and safety policy
Colours shown on this website are a representation only. Please refer to the actual paint or product sample. Resene colour charts, testpots and samples are available for ordering online. See measurements/conversions for more details on how electronic colour values are achieved.
What's new | Specifiers | Painters | DIYers | Artists | Kids | Sitemap | Home | TOP ⇧