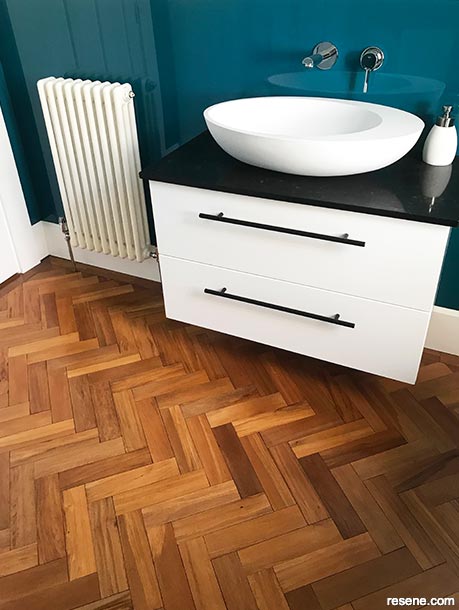
Interior: Rise to the challenge and create your own stunning parquet floor using a bit of Resene know-how.
Ways with wood with Mark Rayner – Project 100
Difficulty level: Challenging
To get the look: Mark painted the skirting boards with Resene Lustacryl Kitchen & Bathroom tinted to Resene Quarter Alabaster and sealed along the bottom edges with clear silicon for extra water protection.
Other ideas: If a single pack product is preferred, use Resene Qristal ClearFloor 1K instead.
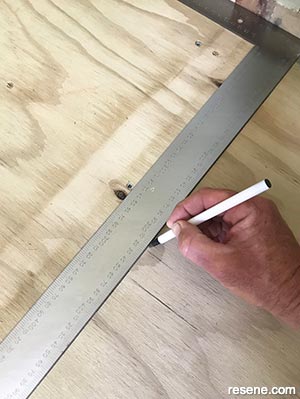 Step one
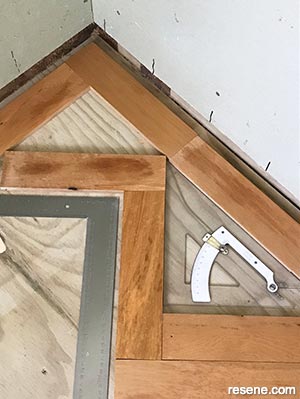
Using the large set square and long ruler, mark a perpendicular central line across the existing floor, as shown.
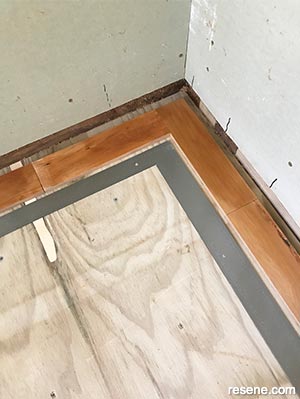 Step two
Lay a ‘frame’ of parquet floor tiles around the edge of the room approximately 17mm out from the wall (our skirting board will be 20mm thick to cover this gap). Fix these into position with construction glue and use the large set square to ensure corners are at right angles.
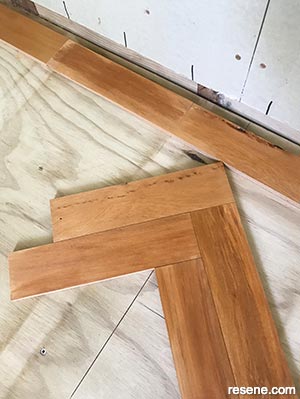 Step three
Using the central line as a guide, lay the first few tiles at 45 degrees, as shown, to create a herringbone pattern. Ensure the tiles are positioned accurately at 45 degrees using the protractor and then fix these down with construction glue.
 Step four
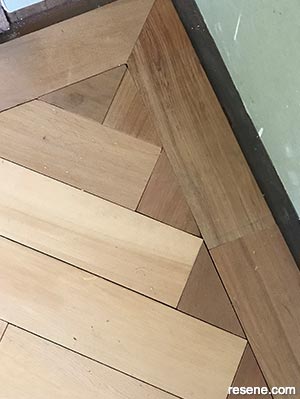
In the same way, continue the pattern of tiles across the width of the room, as shown, cutting tiles to fit at the edges if necessary. Use both the large set square and the protractor to ensure all ninety and forty five degree angles are accurate. Again, use construction glue to fix the tiles down.
 Step five
Measure, mark and cut sections of tiles to fit into any smaller gaps at the edges, as shown, fixing with construction glue.
 Step six
In the same way, carefully continue the herringbone pattern across the floor using both the large set square and protractor to ensure angles are accurate. Once the floor is complete, allow the glue to dry for 24 hours.
 Step seven
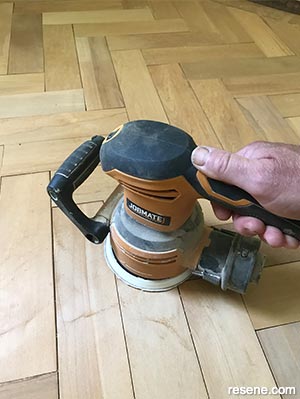
Sand the entire floor with the electric sander and then remove any sanding dust with a vacuum cleaner. Wipe off any remaining dust with a damp cloth and allow floor to dry.
 Step eight
Mix the Resene Qristal ClearFloor 2K base and hardener following manufacturer’s directions. Apply three or four coats to the entire floor, ensuring the product fully seals any joints in the parquet. Allow a minimum of two hours for each coat to dry and allow seven days for the product to fully cure.
![]() Get inspired ! Subscribe
Get inspired ! Subscribe ![]() Get saving ! Apply for a DIY card
Get saving ! Apply for a DIY card
![]()
Can't find what you're looking for? Ask us!
Company profile | Terms | Privacy policy | Quality and environmental policy | Health and safety policy
Colours shown on this website are a representation only. Please refer to the actual paint or product sample. Resene colour charts, testpots and samples are available for ordering online. See measurements/conversions for more details on how electronic colour values are achieved.
What's new | Specifiers | Painters | DIYers | Artists | Kids | Sitemap | Home | TOP ⇧

