Resene Colorwood is an interior wood stain designed to colour timber, while still allowing the natural grain of the timber to show through. It is the perfect way to add colour to timber without losing its natural beauty.
All colours can be intermixed, allowing you to create your own colours.
The finished colour is influenced by the timber colour itself, the denseness of the timber and the length of time the stain is left before the excess is wiped off. Always test Resene Colorwood on a small off-cut of timber to ensure the desired colour is being achieved. Strong colours may be difficult to achieve on hardwood and heart timbers due to lack of penetration. If the selected colour is too strong, reduce with Resene Colorwood Reducing Base.
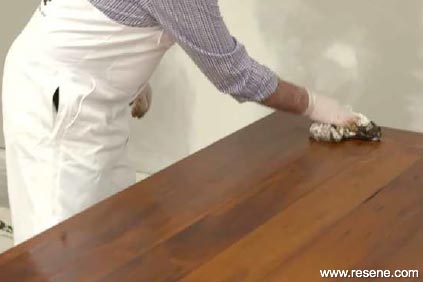
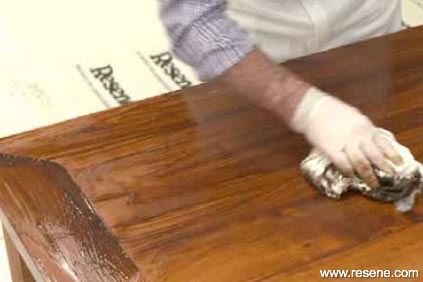
Resene Colorwood is easy to apply by brush or rag. For best results, wipe excess Resene Colorwood off with a dry, absorbent, lint free cloth, rubbing along the grain. This also ensures maximum adhesion of topcoats.
Overcoating is recommended to ensure the timber is protected and to maximise the longevity of the finish. Resene Colorwood is easily overcoated with Resene Aquaclear, Resene Qristal Polyurethanes or Resene Polythane.
Being waterbased, Resene Colorwood is fast drying with low VOCs and is easily cleaned up in water.
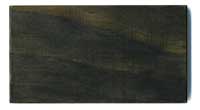
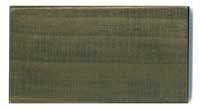
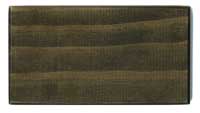
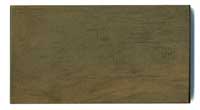
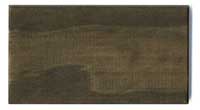
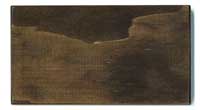
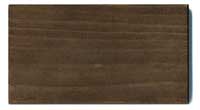
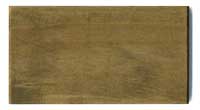
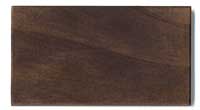
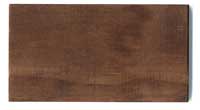
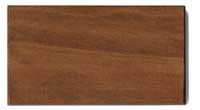
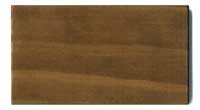
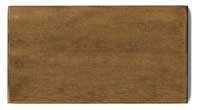
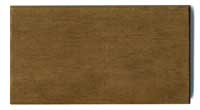
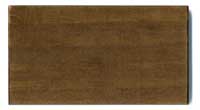
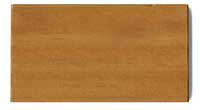
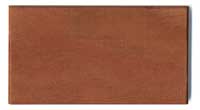
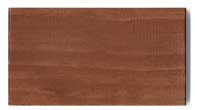
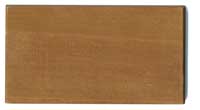
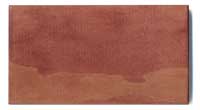
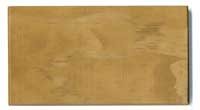
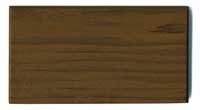
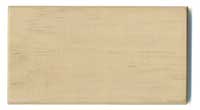
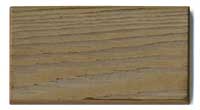
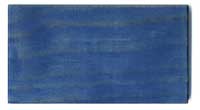
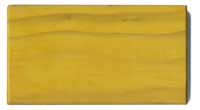

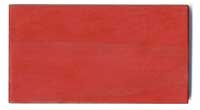
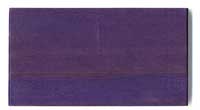
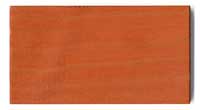


Resene Colorwood Greywash is available in two standard colours:
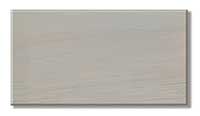
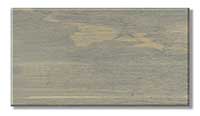
You can also apply Resene Colorwood Greywash over tinted Resene Colorwood stain to achieve other Greywash effects. For example:
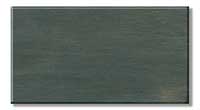
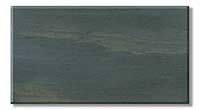
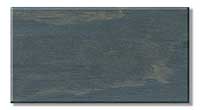
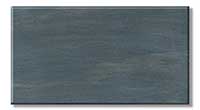
The 'We speak beach' series of colourwash hues are inspired by hazy days at the beach and popular Resene weathered hues. From sea to sand to shore, these hues bring a soothing quality to projects year round. Ideal for use for everything from walls and ceilings to floors and furniture, the hues can be used individually or combined into a palette.
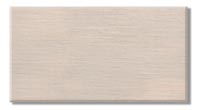
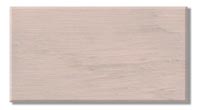
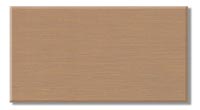
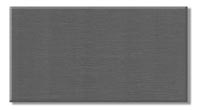
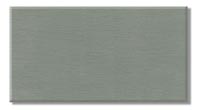
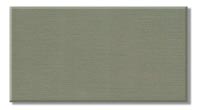


Resene Colorwood may also be tinted to colours from the Exterior stains (Woodsman) colour chart
You can also choose from these Resene Woodsman colours (shown on pine) and have them tinted into Resene Colorwood for interior use.
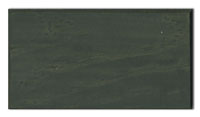
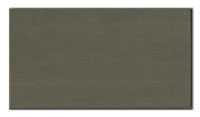
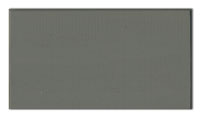
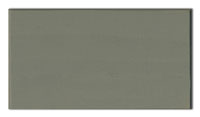
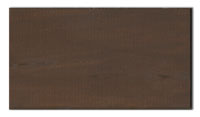
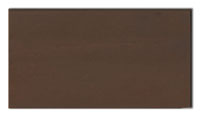
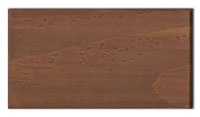
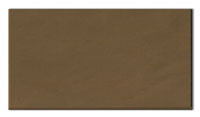
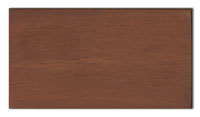
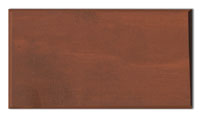
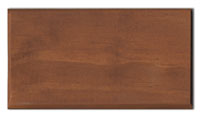
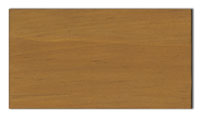
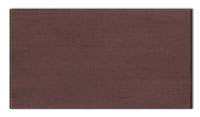
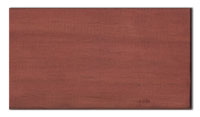
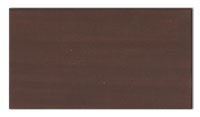
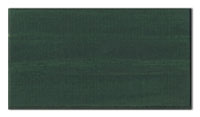
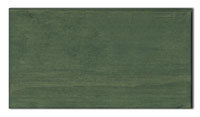
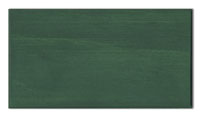
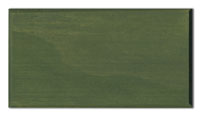
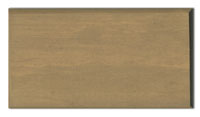
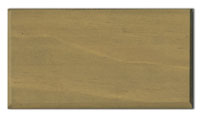
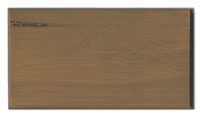
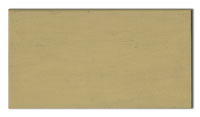
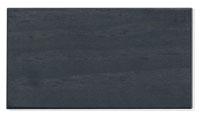
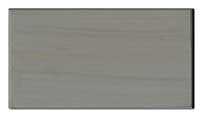
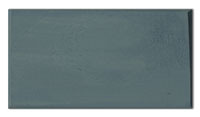
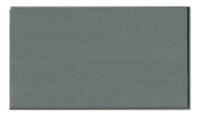
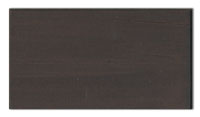
Once you have viewed the colours find out more about using Resene Colorwood or view the Resene Colorwood brochure (PDF).
Colours will appear different on different screens. The final colour and finish will be influenced by the application method and product and will appear different on different timbers – always test your colour on a timber off-cut before starting the main project. Samples are shown on pine unless another timber type is stated.
WD = All colours marked with ‘WD’ are also available for exterior use in Resene Waterborne Woodsman.
Staining a natural wood surface accents and enhances the wood grain. Resene Colorwood is a waterborne interior penetrating wood stain that is ideal for rejuvenating and enhancing timber and composite boards including Strandboard, plywood, MDF as well as most flooring. It is sometimes known as a wiping stain or dye.
Resene Colorwood is usually overcoated with Resene Aquaclear, Resene Qristal Clear polyurethane or Resene Qristal ClearFloor. Rough sawn interior timber, such as beams, can be stained with Resene Colorwoodwithout clear finishing or polyurethaning.
The first task when selecting a wood stain colour is to identify the type of timber you will be staining. The timber's natural colour will affect the final finish and different varieties and grades of wood will absorb the stain differently, so it is important that you consider this when selecting your colour.Higher density timber and hardwoods will not absorb liquids as readily as softer less dense timber. You may need to select a darker stain or apply two coats to get your desired colour.
Stains applied to light timber (or composite boards notably plywood) will appear much stronger and brighter in colour than stains applied to dark wood. Dark stains applied to a dark timber may also cause a darker result than anticipated. Strong primary colours are best applied to light timbers such as pine or plywood.
The stain colours can be intermixed or diluted. Resene Colorwood Reducing Base may be used to soften or stretch a full strength colour. If you like a particular colour but it is just too intense, add Resene Colorwood Reducing Base, which will soften the hue without losing the character and body of the undiluted stain. Resene Colorwood Reducing Base is also perfect on dark timbers to enhance the grain and appearance of the timber, without making the timber appear even darker. Resene Colorwood Enhance can be added to waterborne polyurethanes including Resene Aquaclear to add greater depth of colour to the stain.
The stain colour is affected by the gloss level of the product you choose to topcoat your stain. A clear gloss polyurethane, such as Resene Qristal Poly-Gloss, will make the colour appear more vibrant than a clear flat polyurethane, such as Resene Qristal Poly-Flat. Stains left uncoated have no resistance to marks such as watermarks or coffee cup stains.
The samples on this chart are indicators of the final colour. As with any finishing project - regardless of the products you're using - always go through the entire finishing process using scraps from your project before you commit to a colour and final topcoat finish. This is particularly important when you experiment with tinting topcoats and mixing Resene Colorwood colours. Take a scrap piece from your project, sand it completely, apply Resene Colorwood, allow to dry thoroughly, and apply the topcoat of your choice. Once dry, inspect the final result, which will be a good representation of what your finished project will look like. Remember that both sanding and your choice of topcoat will affect the finished look of your project. Standard Resene Colorwood colours are available in Resene testpots and can be viewed on the Resene woodcare stand at Resene ColorShops and selected resellers.
You will need to sand new timber to remove any surface imperfections. As Resene Colorwood is transparent any residual marks or blemishes on the surface will be apparent in the finished job. Remember to always sand with the grain of the timber.
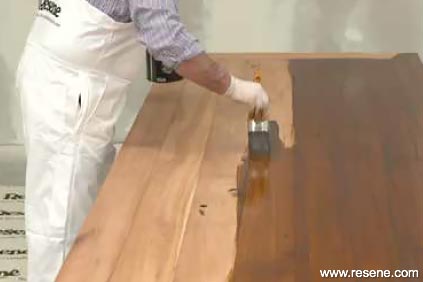
Apply the Resene Colorwood stain liberally before laying off to ensure even coverage is achieved. Carefully plan the staining sequence. It is important that the Resene Colorwood stain remains wet before wiping. The longer the stain is left on the surface, the deeper the colour will be.
Apply Resene Aquaclear or Resene Qristal Clear polyurethane in your desired gloss level. For flooring apply Resene Qristal ClearFloor. For more application advice, see the Resene project sheets and videos for Applying Colorwood, Clear Finishes and Qristal ClearFloor.
Step two
Step three
Step four
Composite boards - particularly Strandboard can be enhanced by applying Resene Colorwood. They can be very absorbent, taking up the Resene Colorwood stain too quickly and making it hard to apply and achieve an even finish.
Dampening the surface by spraying a light mist of clean water onto the surface will reduce the absorbency of the board.
The lambswool deck pad can also be used to apply the Resene Colorwoodstain and is ideal for flooring.
Ensure the timber is thoroughly dry.
If the surface has been previously varnished/painted it is important that this has been thoroughly stripped and any traces of stripper and/or old coating have been removed before staining. Any remaining coating will cause inconsistencies.
The substrate should be lightly sanded with p240 – p400 wet and dry sandpaper to ensure an even acceptance of the stain. Always sand in the direction of the grain because sanding causes tiny grooves in the wood. The stain will be absorbed into these grooves and will highlight their appearance.
Remove all sanding dusts with a soft dust brush, tack cloth or lintfree cloth. Check the timber carefully before proceeding because any imperfection in the wood will be highlighted by the stain.
Stir the contents thoroughly before and during use. If the pigment begins to settle, you will get a lighter colour at the start and a darker colour as you get closer to the bottom of the container.
On flat areas, Resene Colorwood is best applied in smooth, long, thin even coats with a speedbrush, keeping a wet edge to prevent lap marks
Rinse the speedbrush in water prior to use to remove any loose fibres
Dry the speedbrush thoroughly before applying the stain
Do not allow puddles or runs to form as they will dry darker. Wipe off the excess and allow it to thoroughly dry before application of subsequent coats
If you need to apply additional coats of stain, be sure to do so before sealing the wood
If you do not have a speedbrush, Colorwood can be successfully applied by brush
The stain may also be applied with a soft and clean lint-free cloth in a thin and even coat
Wipe off the excess and allow it to thoroughly dry before application of subsequent coats
If you need to apply additional coats of stain, be sure to do so before sealing the wood
The stain should be applied along the grain of the timber, or if applying to MDF it should be applied in one direction as evenly as possible. This direction could be altered in subsequent coats on random pattern timbers
Ensure particle board is sealed prior to the application of polyurethane topcoats to avoid damage to the particle board surface
Any areas of thick or patchy stain should be wiped off before
the product dries with a soft lint-free cloth.
The colour will get stronger with each subsequent coat or the
longer you leave the stain before wiping off the excess
Application of too many coats will lessen the transparency of the stain. If a darker colour is required, get a darker colour tinted, rather than trying to apply too many coats of a lighter colour
Cleanup after using Colorwood is as easy as its application. Most colours will wash off using just soap and water, providing the stain has not cured
Colorwood stains can be layered to produce exciting and unique effects
First apply a base colour of Colorwood stain and wipe off any excess. Immediately feather on a second colour and wipe down carefully
Allow the stain to dry completely and then apply your protective topcoat
You can achieve subtle yet exciting colours using this technique
If you're looking for a more dramatic multi-tone effect, let each colour dry before applying the second or third colour
Remember to try it on an offcut of timber first
Here's a few ideas to help you create your own two tone effects
Apply the first coat as per one colour instructions. Usually only one coat is necessary, two if desired
Allow to thoroughly dry before the application of the second coat
Suggestion 1:
Apply the second colour in a light patchy manner with the edge of the speedbrush along the grain for a patchy aged look
Allow to thoroughly dry and lightly sand in a random manner along the grain using p400 wet and dry sandpaper (dry)
Suggestion 2:
Apply the second colour in the manner of the first coat, thinly and evenly
This will allow the base colour to show through and the two colours will combine to create a unique, complex colour
This works well with two colours close to each other – e.g. Red with orange topcoat, pink with orange topcoat, red with pink topcoat, blue with green topcoat, purple with aubergine topcoat
The effect can also be enhanced by slightly thinning the topcoat by wetting the speedbrush first (shake off excess water)
Suggestion 3:
Apply the second colour in the manner of the first coat. Allow to dry
Very lightly sand through the top layer to reveal the colour of the base layer in a random manner along the grain with p400 wet and dry sandpaper (dry)
This will give a distressed look, and in some places you may like to sand right back to reveal some unstained timber
Suggestion 4:
Apply second colour in a thick coat
While still wet, drag off some of the topcoat with the plastic edge of the speedbrush, or a blunt instrument
Drag the top layer off in a random grain effect and allow to dry
This process may require a second application of the topcoat in a similar manner. Again, drag off some of the top layer in a random grain like manner
This method works particularly well with a black base and coloured topcoat, such as red or any two contrasting colours.
Some additional ideas for two tone effects you may like to experiment with are:
Two popular traditional stained effects you may wish to try are distressing and pickling:
Distressing – Create vintage, timeworn looks on new furniture using the Distressing technique. Apply Colorwood and allow to completely dry. Remove the stain from selected areas, usually edges and corners, using p180 to p220 grit sandpaper. This allows the wood to show through the stain to simulate the wear and tear that normally happens from knocks and bumps and excess handling. Then seal the entire surface with three coats of polyurethane.
Pickling – To pickle a surface, simply apply one of the limed Waterborne Colorwood stains. If desired, apply a second coat of Waterborne Colorwood Rock Salt or Egg White and wipe off the excess leaving touches of white or cream limed stain behind to softer the base colour. The look you want to achieve is a soft subtle colour. Let the wood dry and then seal the entire surface with three coats of polyurethane.
Leave Resene Colorwood to dry for at least 24 hours before overcoating with Resene Qristal Polyurethanes and 48 hours if overcoating with Resene Aquaclear or Resene Polythane. Resene Polythane is the recommended topcoat for floors for maximum durability.
Please note that once a polyurethane sealer has dried the wood surface is sealed and will not absorb any more stain.
The Resene Woodcare range has everything you need for interior and exterior staining and clear finishing projects. The Resene Woodcare stand showcases the range of finishes and colours and further information is also available on the Resene Exterior Woodcare colour chart and the Resene website. View the how to videos online.
| Resene Colorwood | Resene Colorwood Enhance |
Resene Colorwood Whitewash |
Resene Aquaclear - Gloss, Semi-Gloss, Satin |
Resene Qristal ClearFloor 1K |
Resene Qristal ClearFloor 2K |
Resene Qristal Clear - PolyFlat, PolySatin, PolyGloss |
Resene Qristal Clear HD PolySatin |
Resene Polythane | |
| Timber walls | Yes* | Yes** | Yes | Yes | Yes | Yes | |||
| Veneers | Yes* | Yes** | Yes | Yes | Yes | Yes | |||
| Timber furniture, decks | Yes* | Yes** | Yes | Yes | Yes | Yes | |||
| Trims and joinery | Yes* | Yes** | Yes | Yes | Yes | Yes | |||
| Doors | Yes* | Yes** | Yes | Yes | Yes | Yes | |||
| Timber flooring | Yes* | Yes** | Yes | Yes | Yes | Yes | Yes | Yes | Yes |
| Cork flooring | Yes* | Yes** | Yes | Yes | Yes | Yes | Yes | Yes | Yes |
| Work floors - heavy duty finish | Yes* | Yes | Yes | Yes | |||||
| Wooden children's toys | Yes* | Yes** | Yes | Yes | Yes |
Please note: If you cannot see the full chart, please scroll to the right.
* Must be overcoated
** Mixed into appropriate clear waterborne timber finish
Resene Aquaclear
Resene Aquaclear is a waterborne varnish, it is fast drying and easy to use. It will not yellow with age (unlike most solventborne varnishes) so is ideal for light coloured timber and composite boards. Available in satin, semi-gloss and gloss finishes.
Resene Qristal Polyurethanes
Resene Qristal Polyurethanes are popular solventborne varnishes. They add depth and vibrancy to hardwoods and dark timbers. Available in Resene Qristal Poly-Gloss: a high gloss (wet look) finish that will give added intensity to the colour; Resene Qristal Poly-Satin: a medium vibrancy, more natural finish with less effect on the stain colour and Resene Qristal Clear Poly-Flat: a natural flat finish that mimics a waxed surface and is the ideal finish for recycled, aged or imperfect timbers. Where a harder wearing surface is required, use Resene Polythane. Resene Qristal Clear Poly-Flat has a natural finish that mimics a waxed surface. The Resene Qristal Clear polyurethanes are ideal for use over Resene Danska Teak Oil.
Resene Qristal ClearFloor
Resene Qristal ClearFloor is a premium floor finish available in a two pack product (2K) in satin and gloss and a single pack (1K) in satin. It is waterborne, durable and hardwearing. Resene Qristal ClearFloor 1K is designed for general flooring use with low to medium foot traffic and Resene Qristal ClearFloor 2K is recommended for commercial and high traffic areas. It has minimal odour compared to traditional flooring finishes.
Resene Polythane
Resene Polythane is a single pack moisture cured polyurethane clear gloss finish for floors and hardwearing surfaces. It is recommended as a topcoat on dark or timber coloured stains as it may yellow over time, which can enhance timber coloured stains.
Resene Danska Teak Oil
Resene Danska Teak Oil is a traditional highly refined oil designed to enhance the grain of hardwoods including teak, rimu and beech. Typically either brush applied or wiped on with a clean cloth, it needs to be overcoated and looks best when used under Resene Qristal Clear polyurethanes.
Resene Colorwood Whitewash
Resene Colorwood Whitewash isn’t absorbed into timber or composite board like Resene Colorwood but as the name implies is a wash of white over uncoated timber and composite boards, such as particle board – lightening and enhancing the surface. It can be applied over aged, yellowed polyurethanes and varnishes for a contemporary whitewashed look, without the need to strip the existing polyurethane coating. Resene Colorwood Whitewash may be overcoated with Resene Aquaclear or Resene Qristal ClearFloor and is ideal for achieving blonded, French-wash or whitewashed effects. It is best applied by brush or speedbrush.

Whtiewash™ on Pine
Resene Colorwood Greywash
Resene Colorwood Greywash is a greyed off version of Resene Colorwood Whitewash and can be used to create a greywashed effect over interior timber. Available in two standard colours, it can also be applied over tinted Resene Colorwood stain for a wider range of greywash effects.

Light Greywash™ on Pine / Mid Greywash™ on Pine
Resene Colorwood Enhance
Resene Colorwood Enhance is designed to be added to waterborne clears - Resene Aquaclear and Resene Qristal ClearFloor 1K - and will subtly colour the clear finish. It is available in three timber tones as well as black and white and is best applied by brush or speedbrush, layering the colour up in multiple coats. Resene Colorwood Enhance helps even out the appearance of similarly toned stains, deepening the underlying colour and helping eliminate any patchiness. It is ideal for restoring the colour of timber without the need to strip previously applied clear finishes.
Resene Colorwood Enhance cannot be used with solventborne clears.