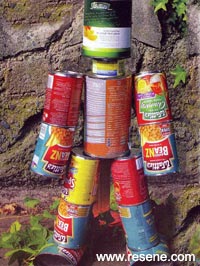
A fun garden project for adults and kids alike. Design your own version of our tin can man, who can double as a hanging scarecrow, using whatever cans are on hand.
![]()
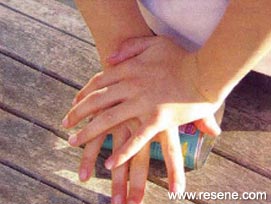 Prepare tins
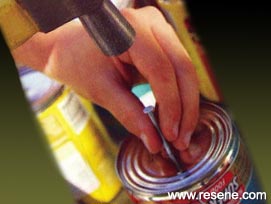 Make nail holes
 Make a hole in the centre of the base of all the leg and the lower-arm cans.
Make one hole in the side of the upper arms cans, 1cm above their base.
Make a hole near the open end of each lower-arm can.
Make two holes 5cm apart in the base of each body,neck and head can.
Make a hole in the middle of the side of each foot can.
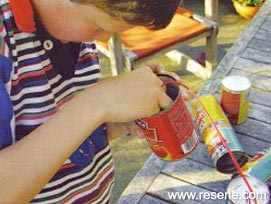 Thread together
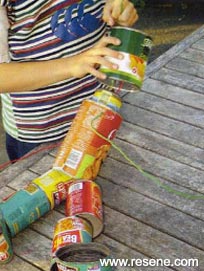
First, thread a wire through the body, ready for the arms. Next, make a knot in each end of two wires and thread one through a hole in one foot and use the other for the other foot.
Thread one 'foot' wire up through a lower and a upper leg can, the body, the neck and the head cans and do the same with the other 'foot' wire.
To secure and tighten the wires, bring them out though the side holes on the 'head' can and twist firmly at the rear of the head
 Add more tins
First, thread a wire through the body, ready for the arms. Next, make a knot in each end of two wires and thread one through a hole in one foot and use the other for the other foot.
Thread one 'foot' wire up through a lower and a upper leg can, the body, the neck and the head cans and do the same with the other 'foot' wire.
To secure and tighten the wires, bring them out though the side holes on the 'head' can and twist firmly at the rear of the head.
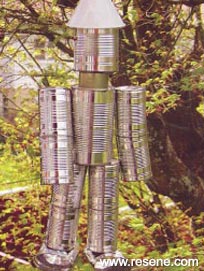 Bird scarer - tin man
For the arms, take the wires already threaded through the body through the side holes on the upper arms, then down through the centre holes in the lower arms. Firmly tie the ends to the holes punched at the open end of the lower arm cans. Trim wire ends.
The funnel (hat) can be attached with another wire threaded through each side of the head and up though the funnel's spout. Use this wire to hang your tin man to a tree, post or fence.
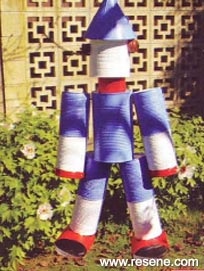 Toy soldier - tin man
![]() Get inspired ! Subscribe
Get inspired ! Subscribe ![]() Get saving ! Apply for a DIY card
Get saving ! Apply for a DIY card
![]()
Can't find what you're looking for? Ask us!
Company profile | Terms | Privacy policy | Quality and environmental policy | Health and safety policy
Colours shown on this website are a representation only. Please refer to the actual paint or product sample. Resene colour charts, testpots and samples are available for ordering online. See measurements/conversions for more details on how electronic colour values are achieved.
What's new | Specifiers | Painters | DIYers | Artists | Kids | Sitemap | Home | TOP ⇧